")
We recently helped a Boca Raton homeowner who bought an older home and needed a full electrical panel upgrade. Their current panel couldn’t support the modern appliances they planned to install—like a new electric range, HVAC system, and pool equipment. It was outdated, ungrounded, and unsafe. With a full panel replacement, we gave their home a safer, more efficient power system that could keep up with their lifestyle.
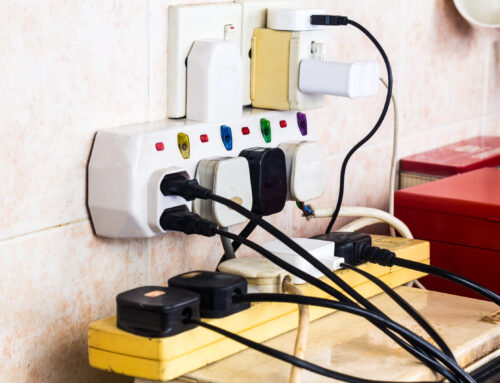
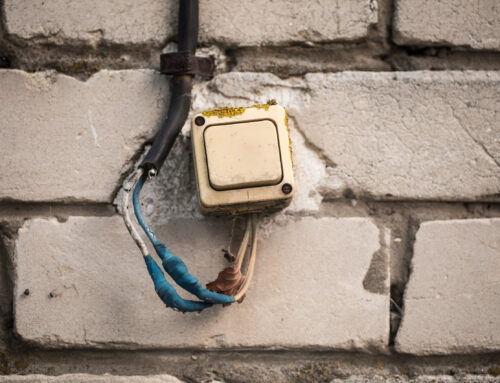
Many homeowners don’t realize that their electrical panel is one of the most important parts of their home. It’s the control center for your electricity. If it’s not set up properly, you risk power failures, tripped breakers, and even electrical fires. The National Fire Protection Association (NFPA) reports that electrical distribution systems are one of the top causes of home structure fires.
If you’re building, remodeling, or upgrading an older home, understanding how to set up electrical panels for a home is key to long-term safety and efficiency. This guide walks you through each major step, so you know what to expect when working with a professional electrician.
What Is an Electrical Panel?
Before beginning any installation work, it’s important to understand what an electrical panel does and why it matters for your home.
Purpose of the Panel
The electrical panel acts as your home’s power distribution hub. It receives electricity from your utility company and sends it to different circuits throughout your home. Circuit breakers within the panel automatically shut off power if a circuit is overloaded or a short occurs, protecting your system and preventing fires.
Types of Panels
There are two common types of panels: main breaker panels and subpanels. Main breaker panels are standard in most homes and include a built-in disconnect switch. Subpanels are secondary panels used in detached buildings, additions, or areas with high power needs. Knowing which one you need depends on your setup and power distribution goals.
Step 1: Plan Your Power Needs
Setting up your panel starts with understanding your current and future electrical demands. This ensures your panel won’t be overloaded.
Calculate Total Electrical Load
List every major appliance, HVAC system, water heater, and high-wattage device you plan to use. Add up their wattage and amperage needs. Electricians use formulas to determine whether a 100, 150, or 200-amp service is appropriate based on your combined load.
Consider Future Needs
Plan for tomorrow, not just today. If you think you’ll be adding an electric vehicle charger, hot tub, or solar power system, account for that now. Upgrading later can be more expensive and complicated.
Step 2: Choose the Right Panel Size and Location
Once you’ve calculated your load, the next step is selecting the proper panel size and determining where it should go.
Panel Size
A 200-amp panel is now standard for most modern homes, especially if you’re using smart appliances, central AC, or electric cooking. Smaller homes with fewer energy demands may only need 100 or 150 amps, but it’s best to talk with a licensed electrician to choose wisely.
Installation Location
Choose a location that’s dry, well-ventilated, and accessible. Common locations include utility rooms, basements, garages, and exterior walls. Panels must have 30 inches of clear width and 36 inches of space in front for access and service, in compliance with the National Electrical Code (NEC).
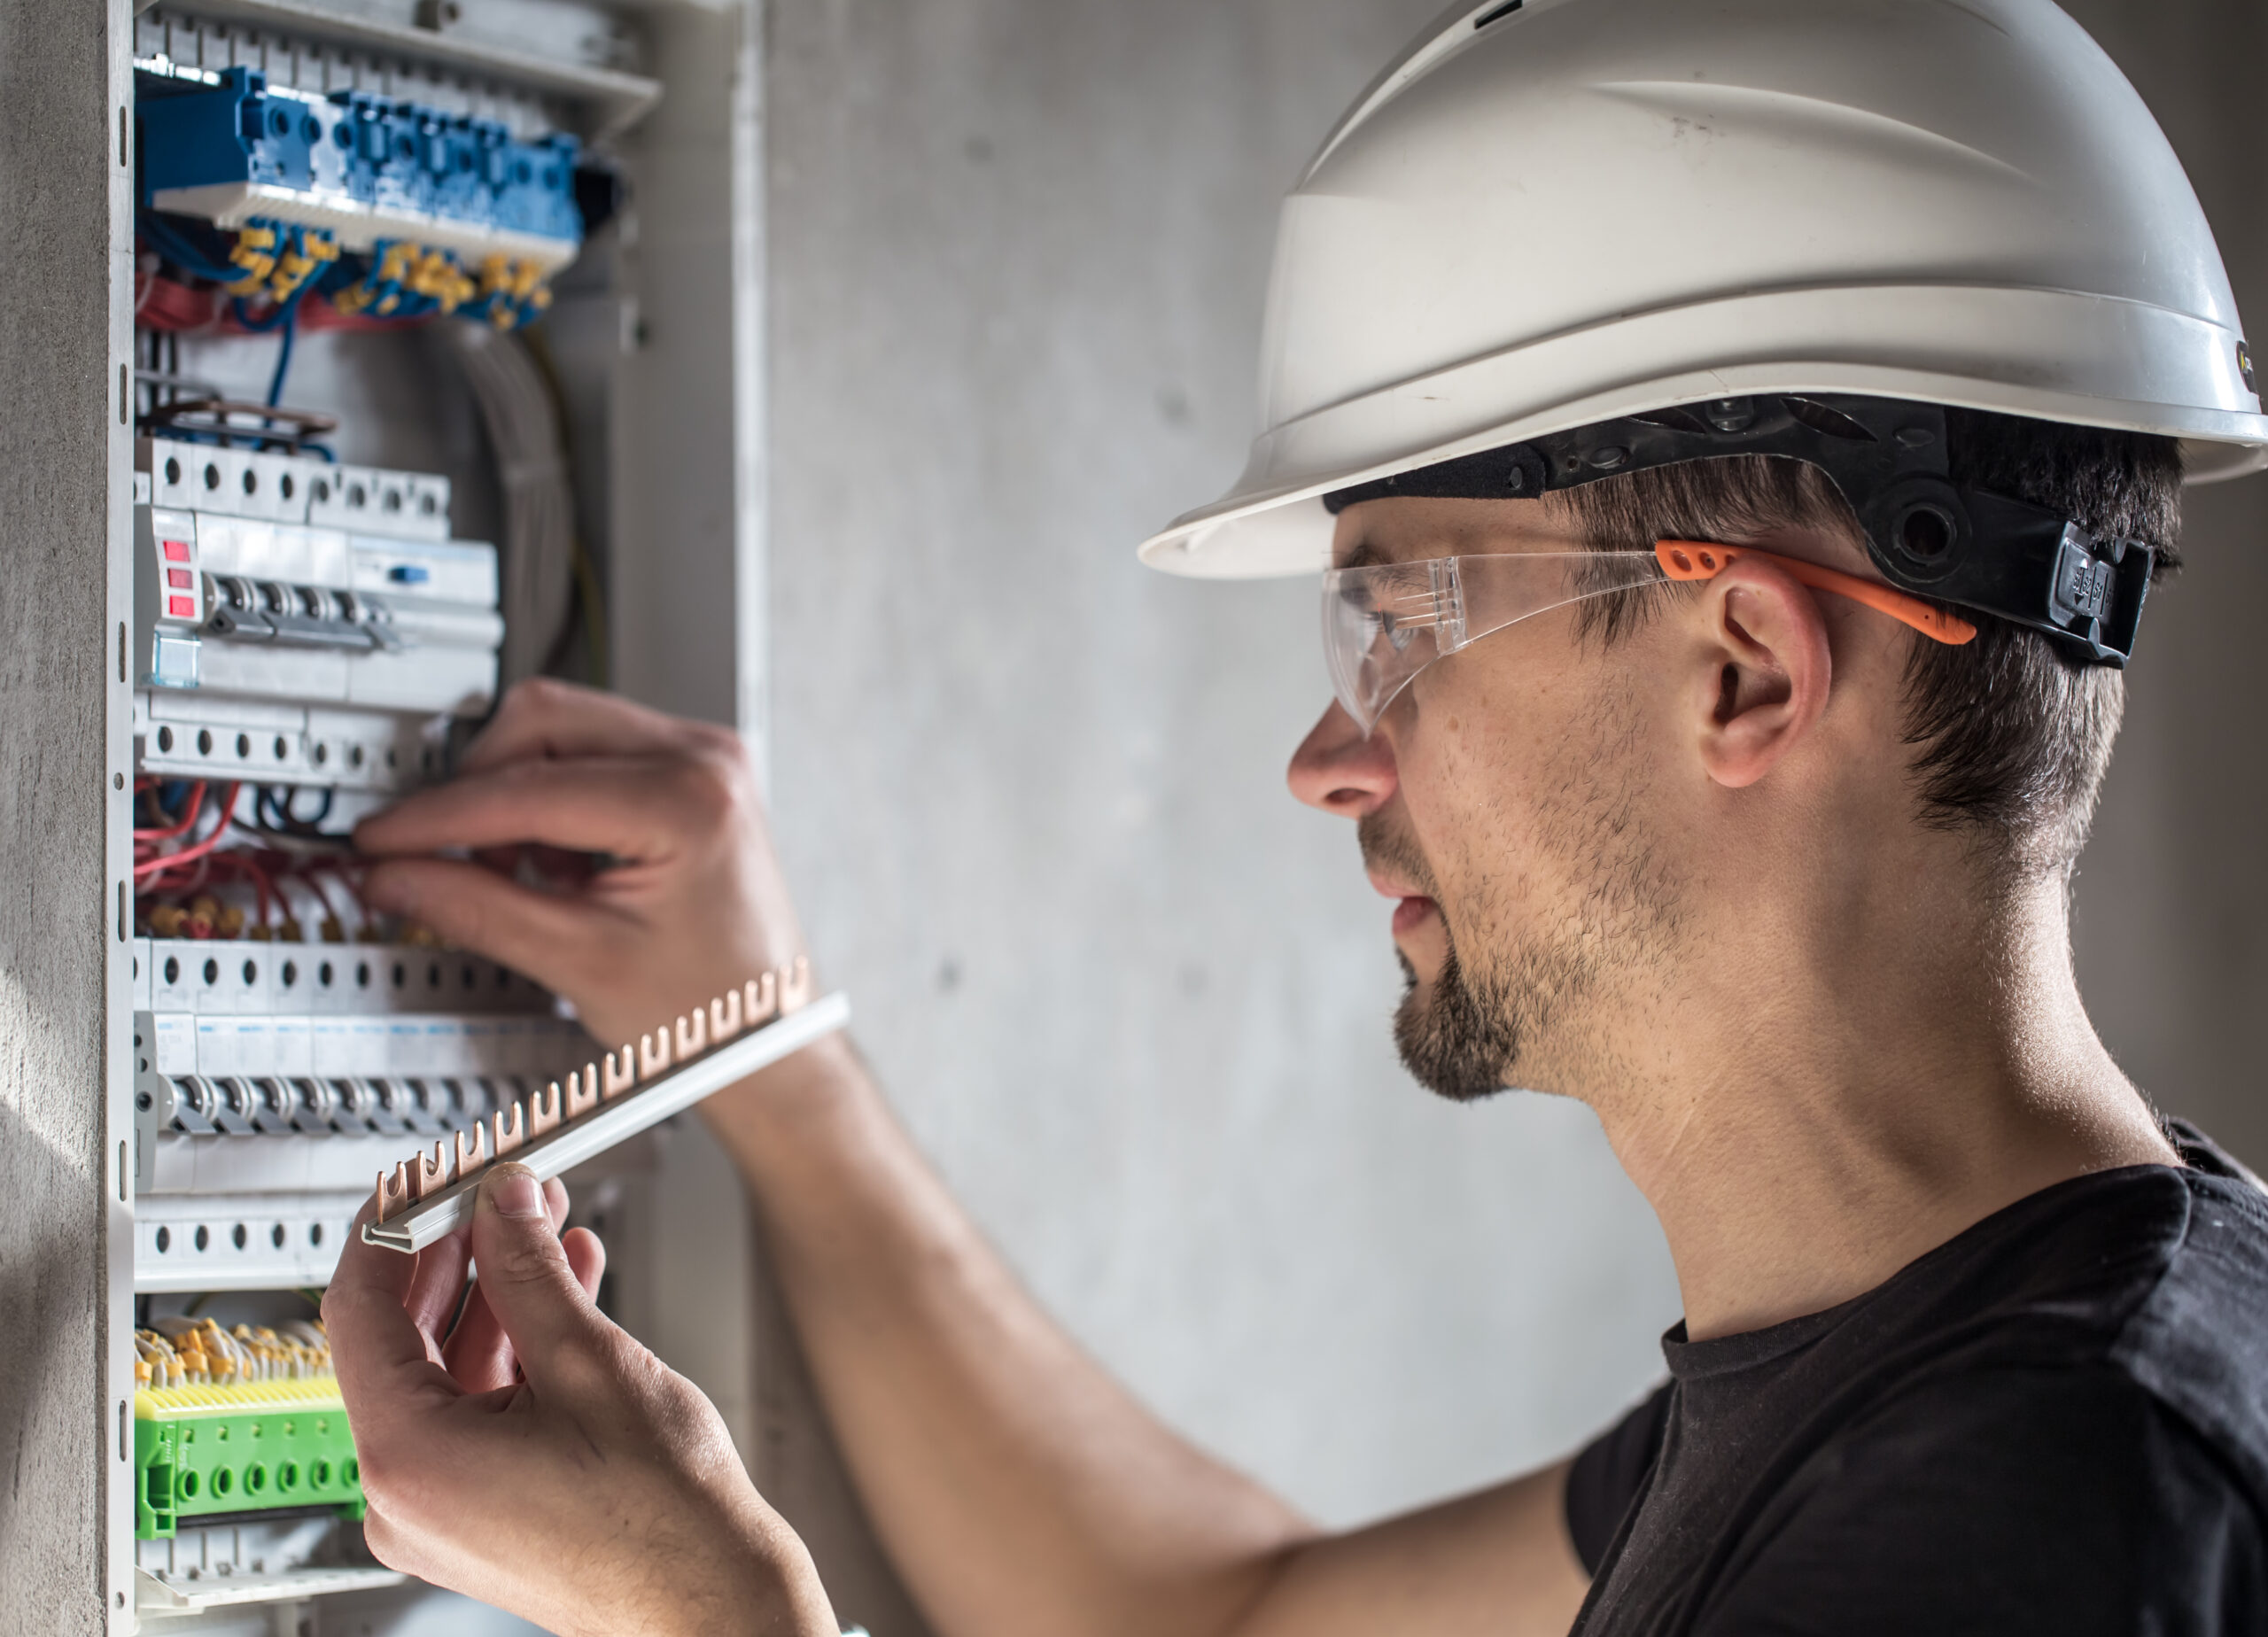
Step 3: Install the Panel Safely
Panel installation is a highly technical job that requires a professional to handle safely and correctly.
Mounting the Panel
The panel box is mounted securely to wall studs and must be level. It should be positioned so the top of the box is no higher than 6.5 feet and the bottom is at least 4 feet off the ground, giving easy reach to the main breaker.
Connecting the Service Entry
This involves connecting the incoming power line from your utility meter to the main breaker in the panel. It’s one of the most dangerous parts of the job and should always be handled by a licensed, trained electrician. Incorrect handling can lead to fatal shock or fire.
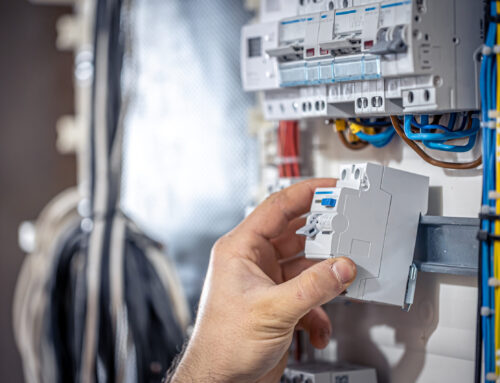
Step 4: Install and Label Circuit Breakers
With the panel mounted and energized, it’s time to connect your home’s circuits to individual breakers.
Breaker Types
There are several types of breakers: standard (for outlets and lights), double-pole (for large appliances like dryers), AFCI (for arc fault protection), and GFCI (for moisture-prone areas like bathrooms and kitchens). Choosing the right type for each circuit helps maintain safety and compliance with electrical codes.
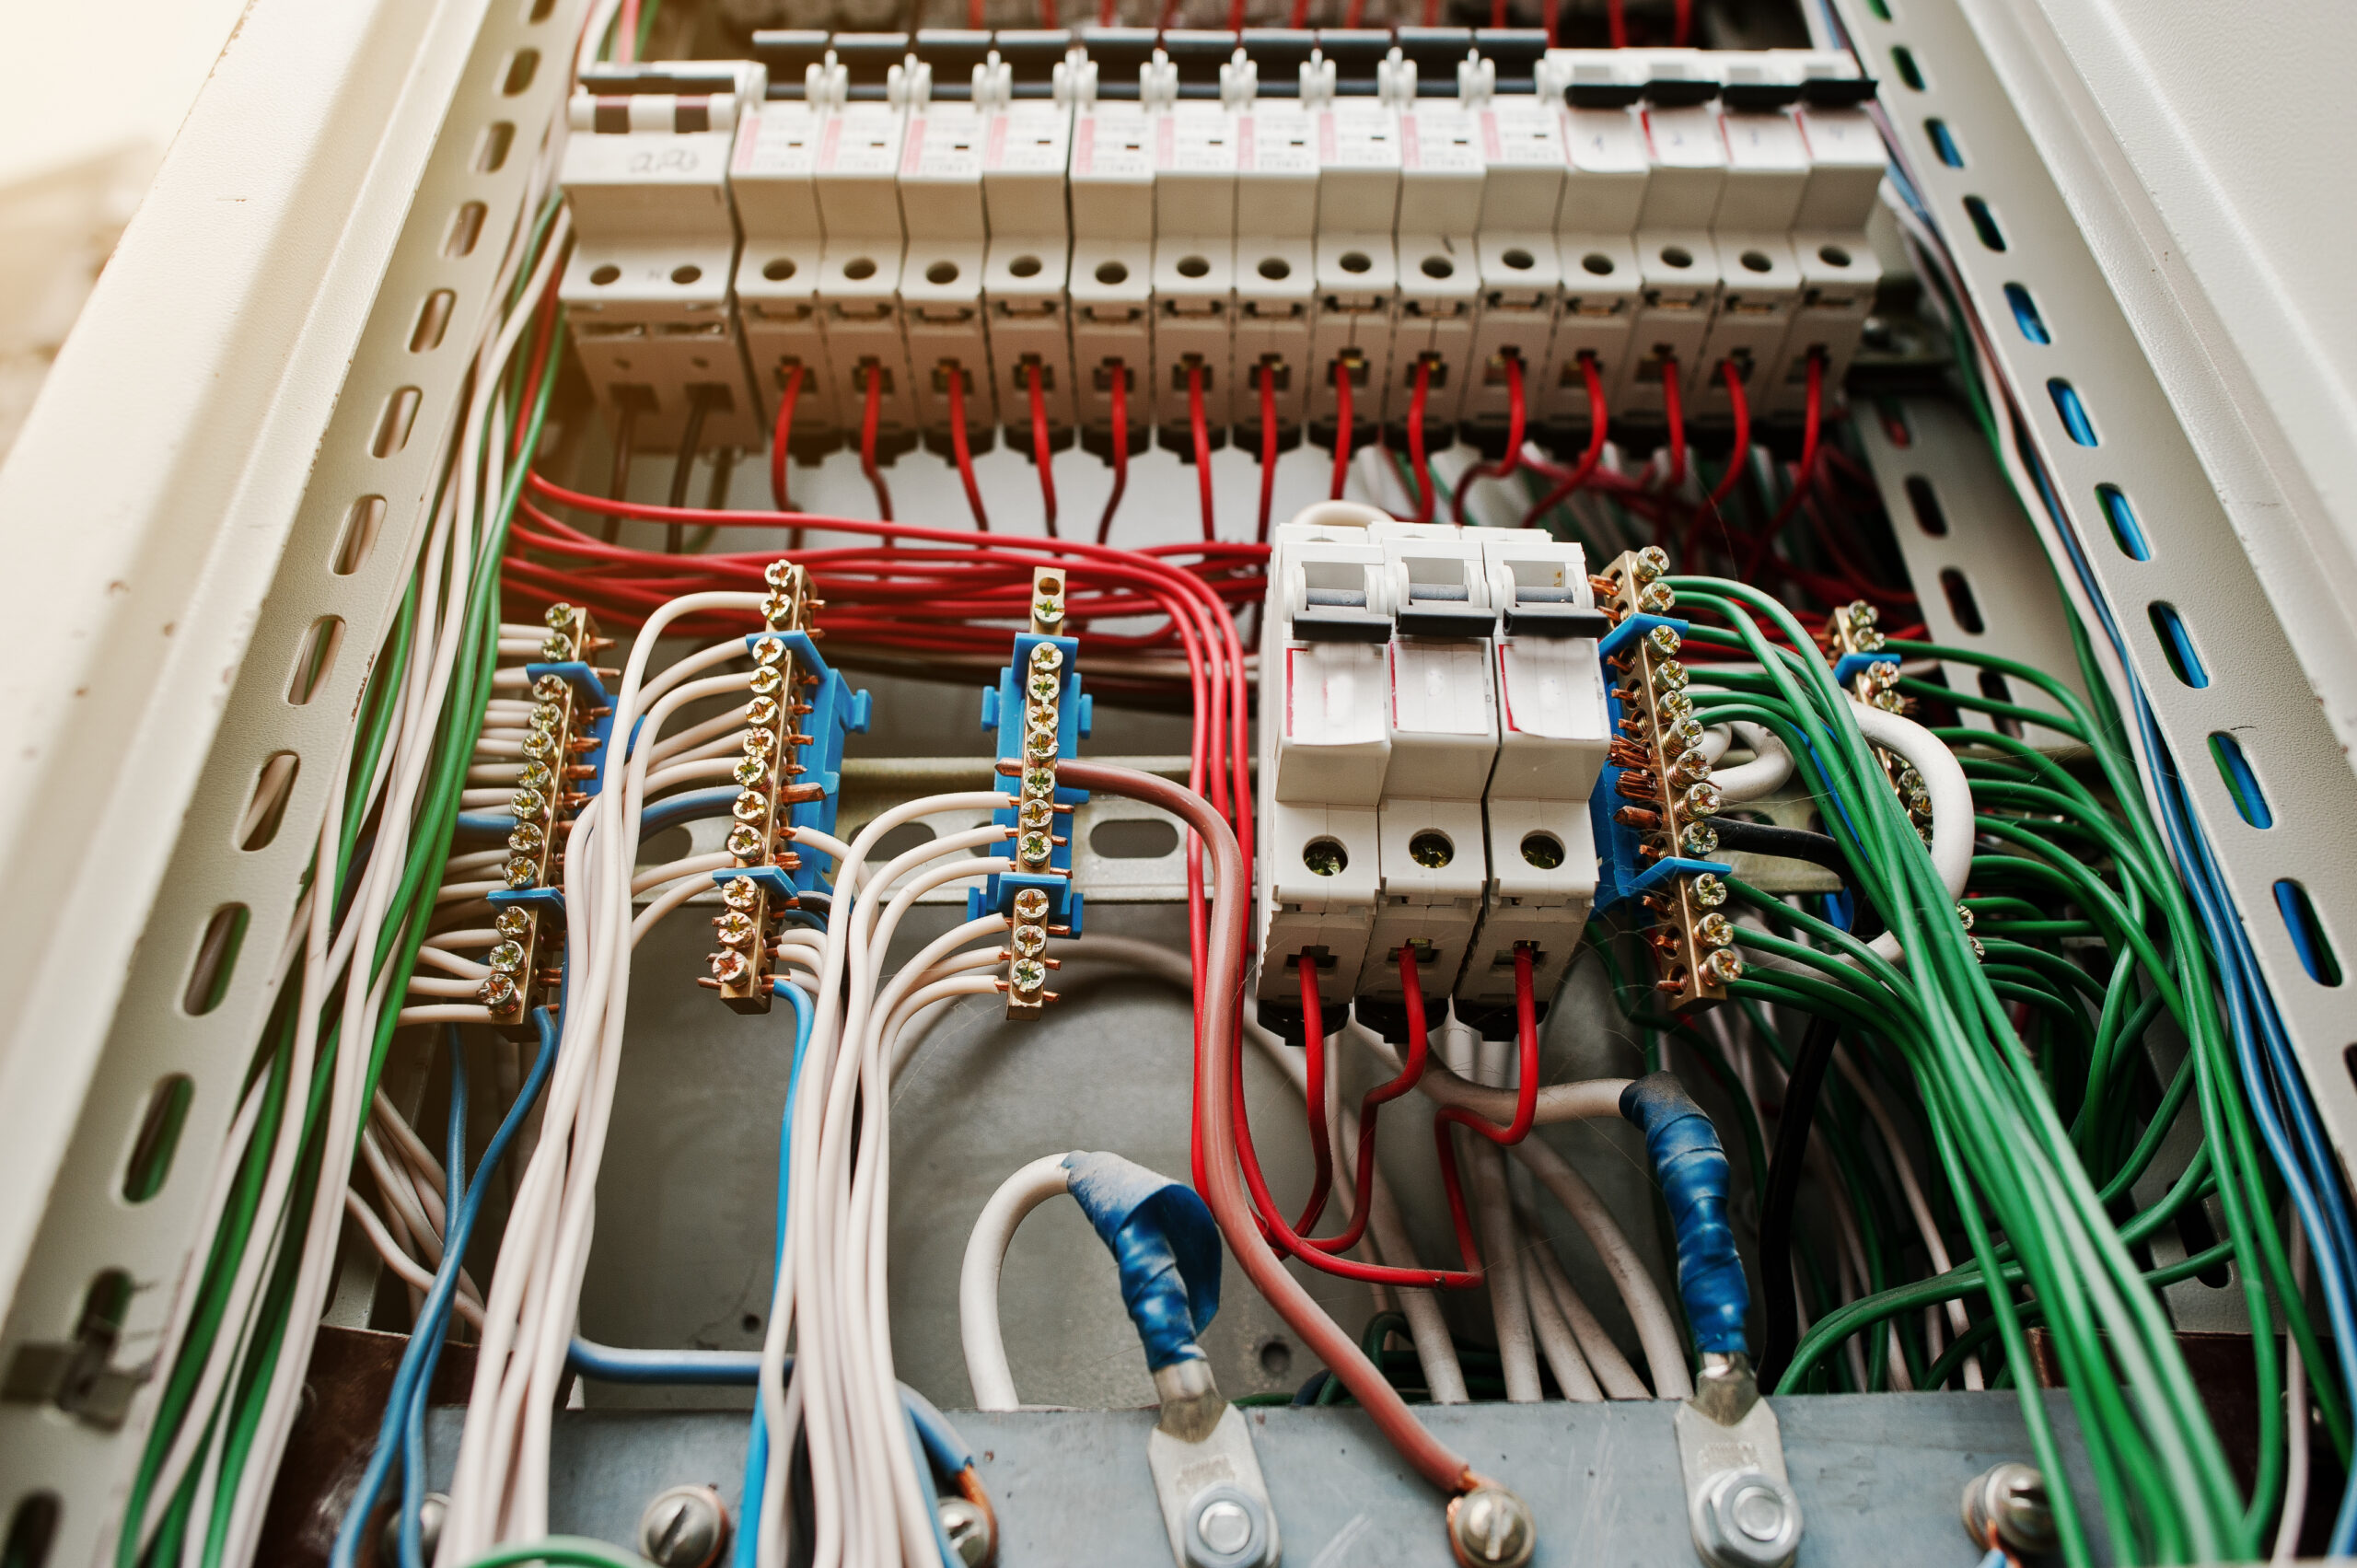
Circuit Wiring
Each home circuit is carefully wired into the panel, attaching to a breaker and connecting neutral and ground wires to their designated bus bars. These connections must be tight and properly routed to avoid future electrical faults.
Label Each Circuit
Every breaker should be clearly labeled—kitchen lights, living room outlets, laundry appliances, etc. This saves time during maintenance and is essential for emergency shutdowns. Use a printed or written panel map inside the door for quick reference.
Step 5: Inspection and Final Testing
Before your panel can go live, it must pass inspection and testing.
Electrical Inspection
A certified electrical inspector from your local building department will evaluate the panel installation for code compliance, safety, and proper grounding. This inspection is mandatory before power can be permanently turned on.
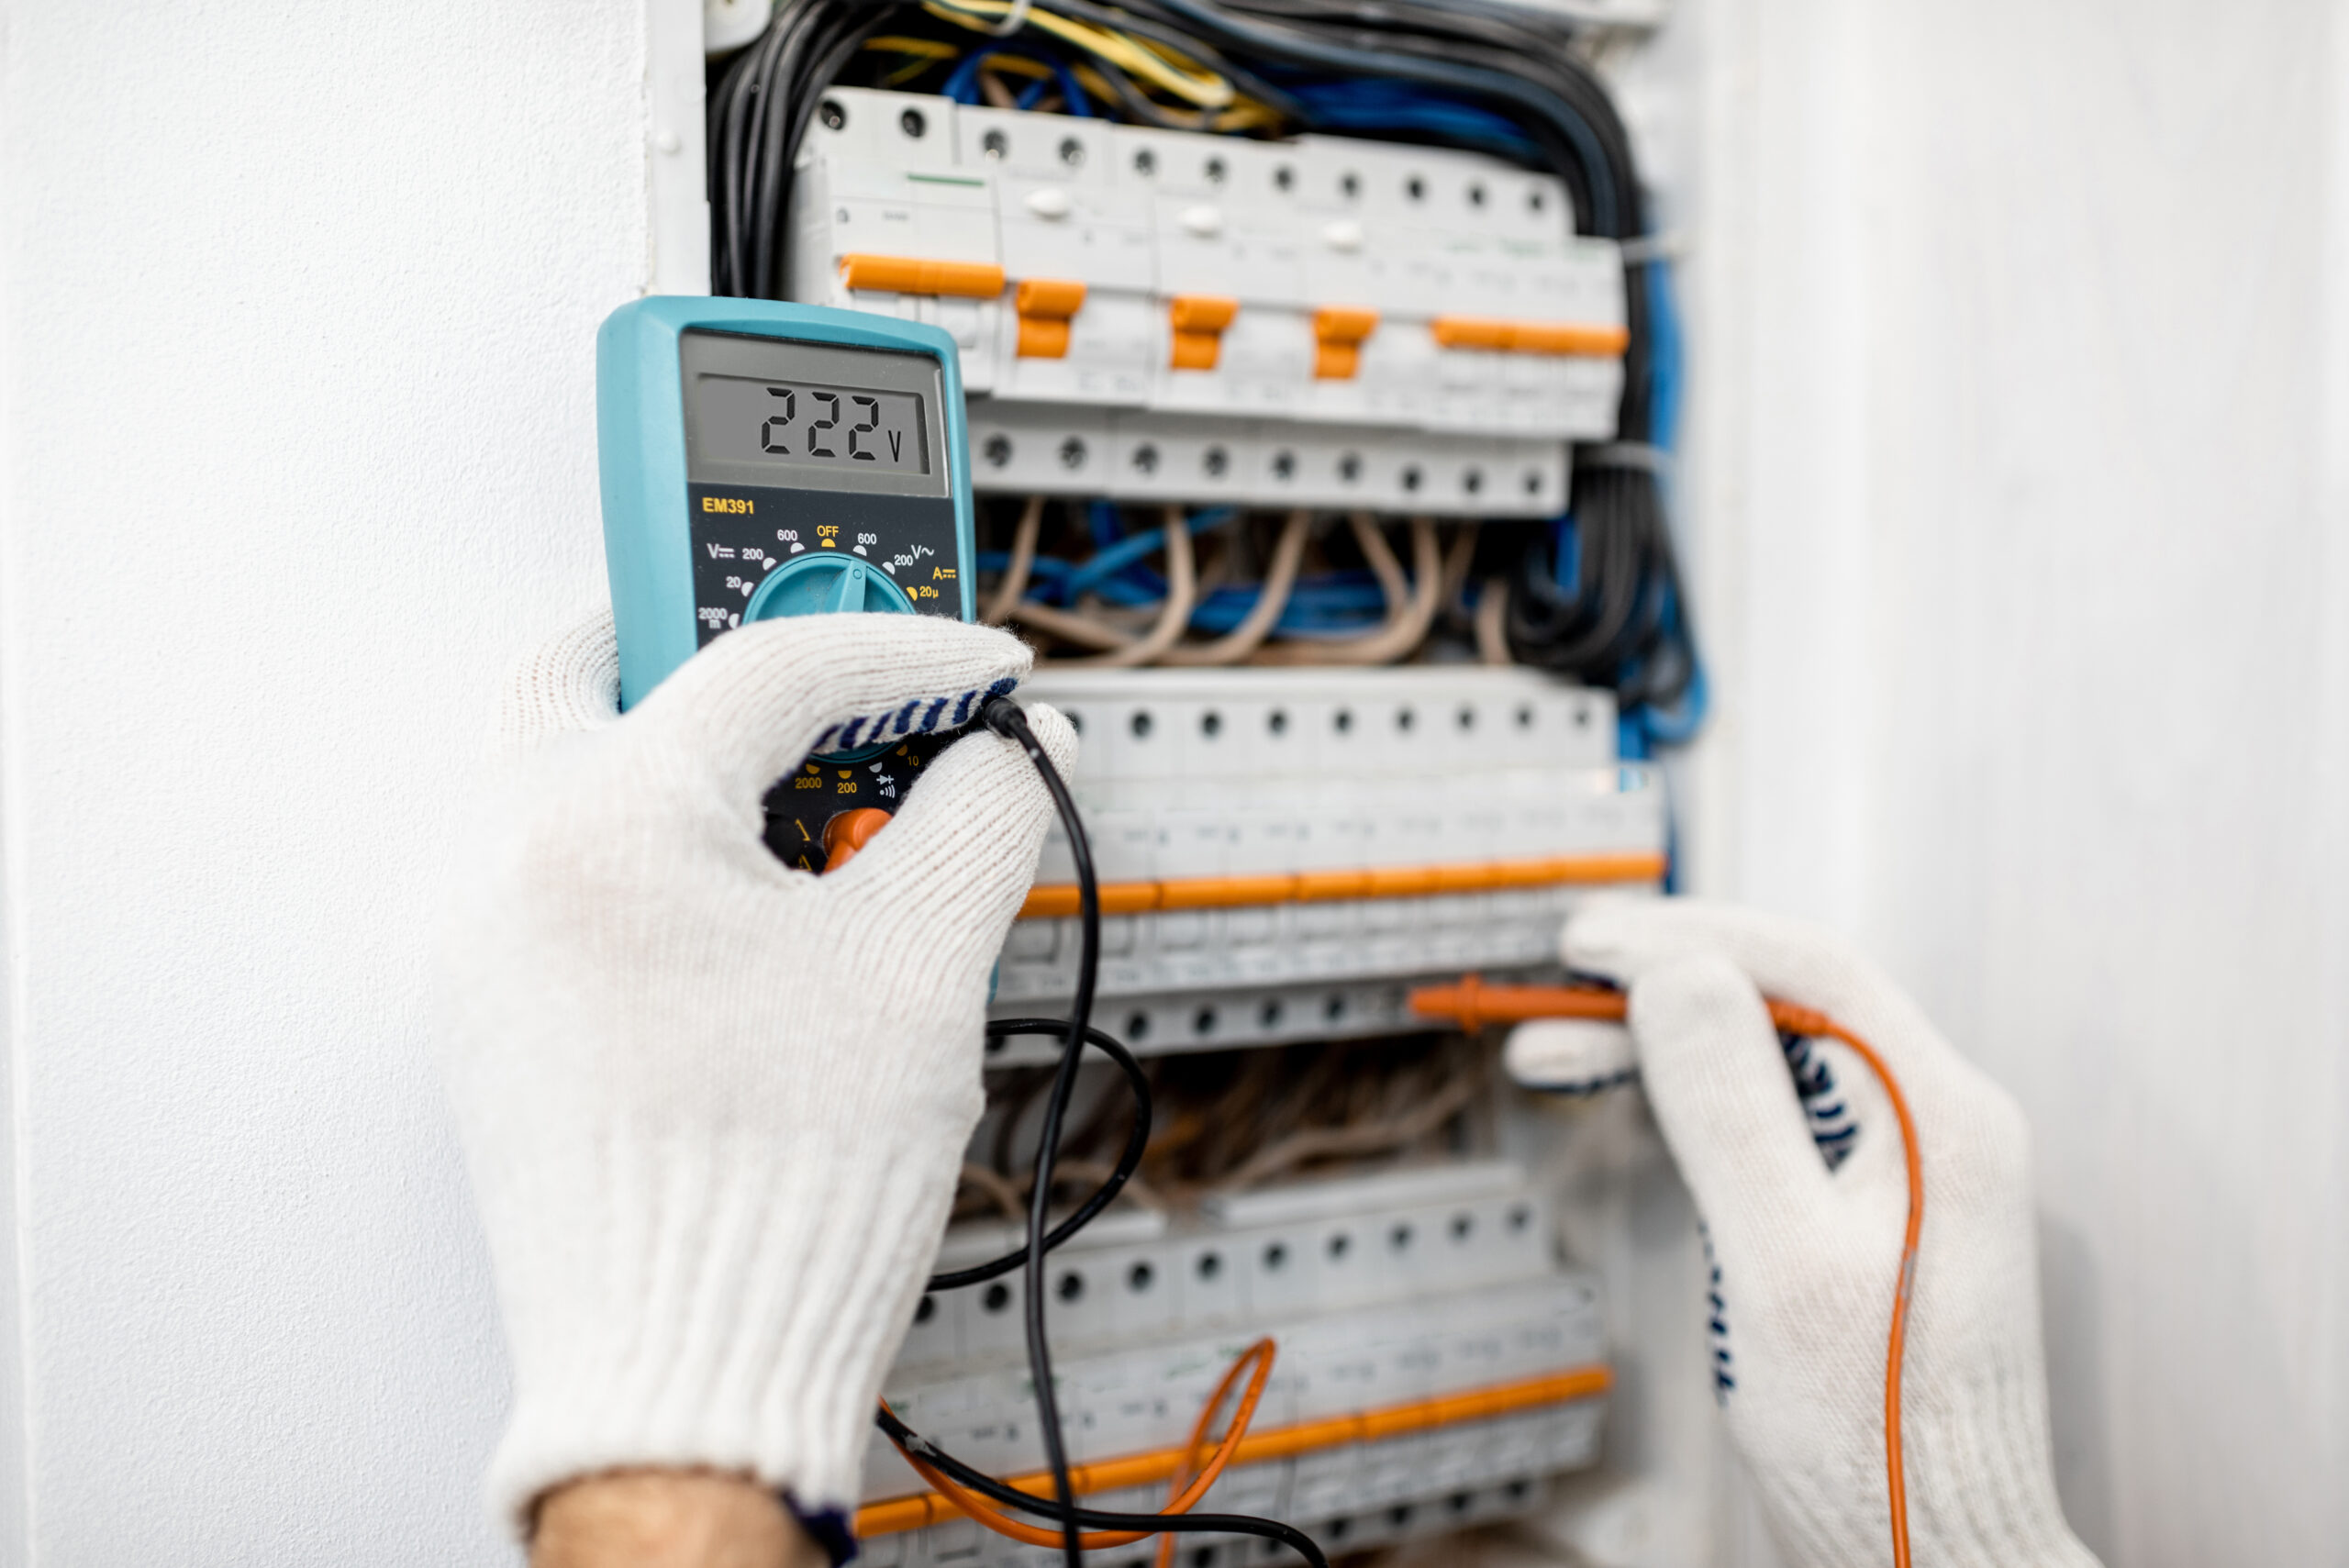
Final Testing
After passing inspection, the electrician will test each circuit to ensure it powers the correct devices and shuts off properly when overloaded. This step verifies both safety and performance.
Tips for Homeowners
Once your new electrical panel is in place, here are a few tips to keep it working efficiently for years to come:
- Never block access to the panel. Keep storage items clear of the 3-foot safety zone.
- Test circuit breakers annually. If a breaker feels hot, smells like burning plastic, or trips frequently, call an electrician.
- Don’t ignore flickering lights or buzzing sounds—these are warning signs of loose connections.
- Schedule a full electrical checkup every 5–7 years to ensure your system stays up to code and handles your home’s demands.
FAQs About Setting Up Electrical Panels
How long does it take to install a new electrical panel?
A typical panel installation takes 4 to 8 hours, depending on the complexity and whether additional upgrades are needed.
Can I add more breakers later if I run out of space in my panel?
Only if your panel has room for expansion. If not, a subpanel or panel upgrade may be required.
What’s the difference between a fuse box and a breaker panel?
A fuse box uses fuses that must be replaced after they blow, while a breaker panel uses resettable switches. Breaker panels are now standard and safer.
Is it safe to paint over my electrical panel?
No, you should never paint over your electrical panel or breakers. It can block labels, affect functionality, and violate electrical codes.
How Can Boca Electrical Works Help You
At Boca Electrical Works, we provide expert panel installations, upgrades, and repairs for homes and businesses throughout Boca Raton. Our licensed electricians make sure your system is safe, modern, and built to handle everything your property needs.
We handle:
- Electrical panel upgrades (100, 150, and 200 amps)
- Subpanel installations for remodels or garages
- Breaker troubleshooting and replacements
- Code-compliant wiring and inspections
- Whole-home surge protection and load balancing
Whether you’re building new, remodeling, or replacing an outdated panel, our team is here to make the process smooth and safe. Call us today at (561) 235-2513 or visit us at 158 NW 16th St #2, Boca Raton, FL 33432 to get a free quote or schedule service. Power your home the right way—with confidence.