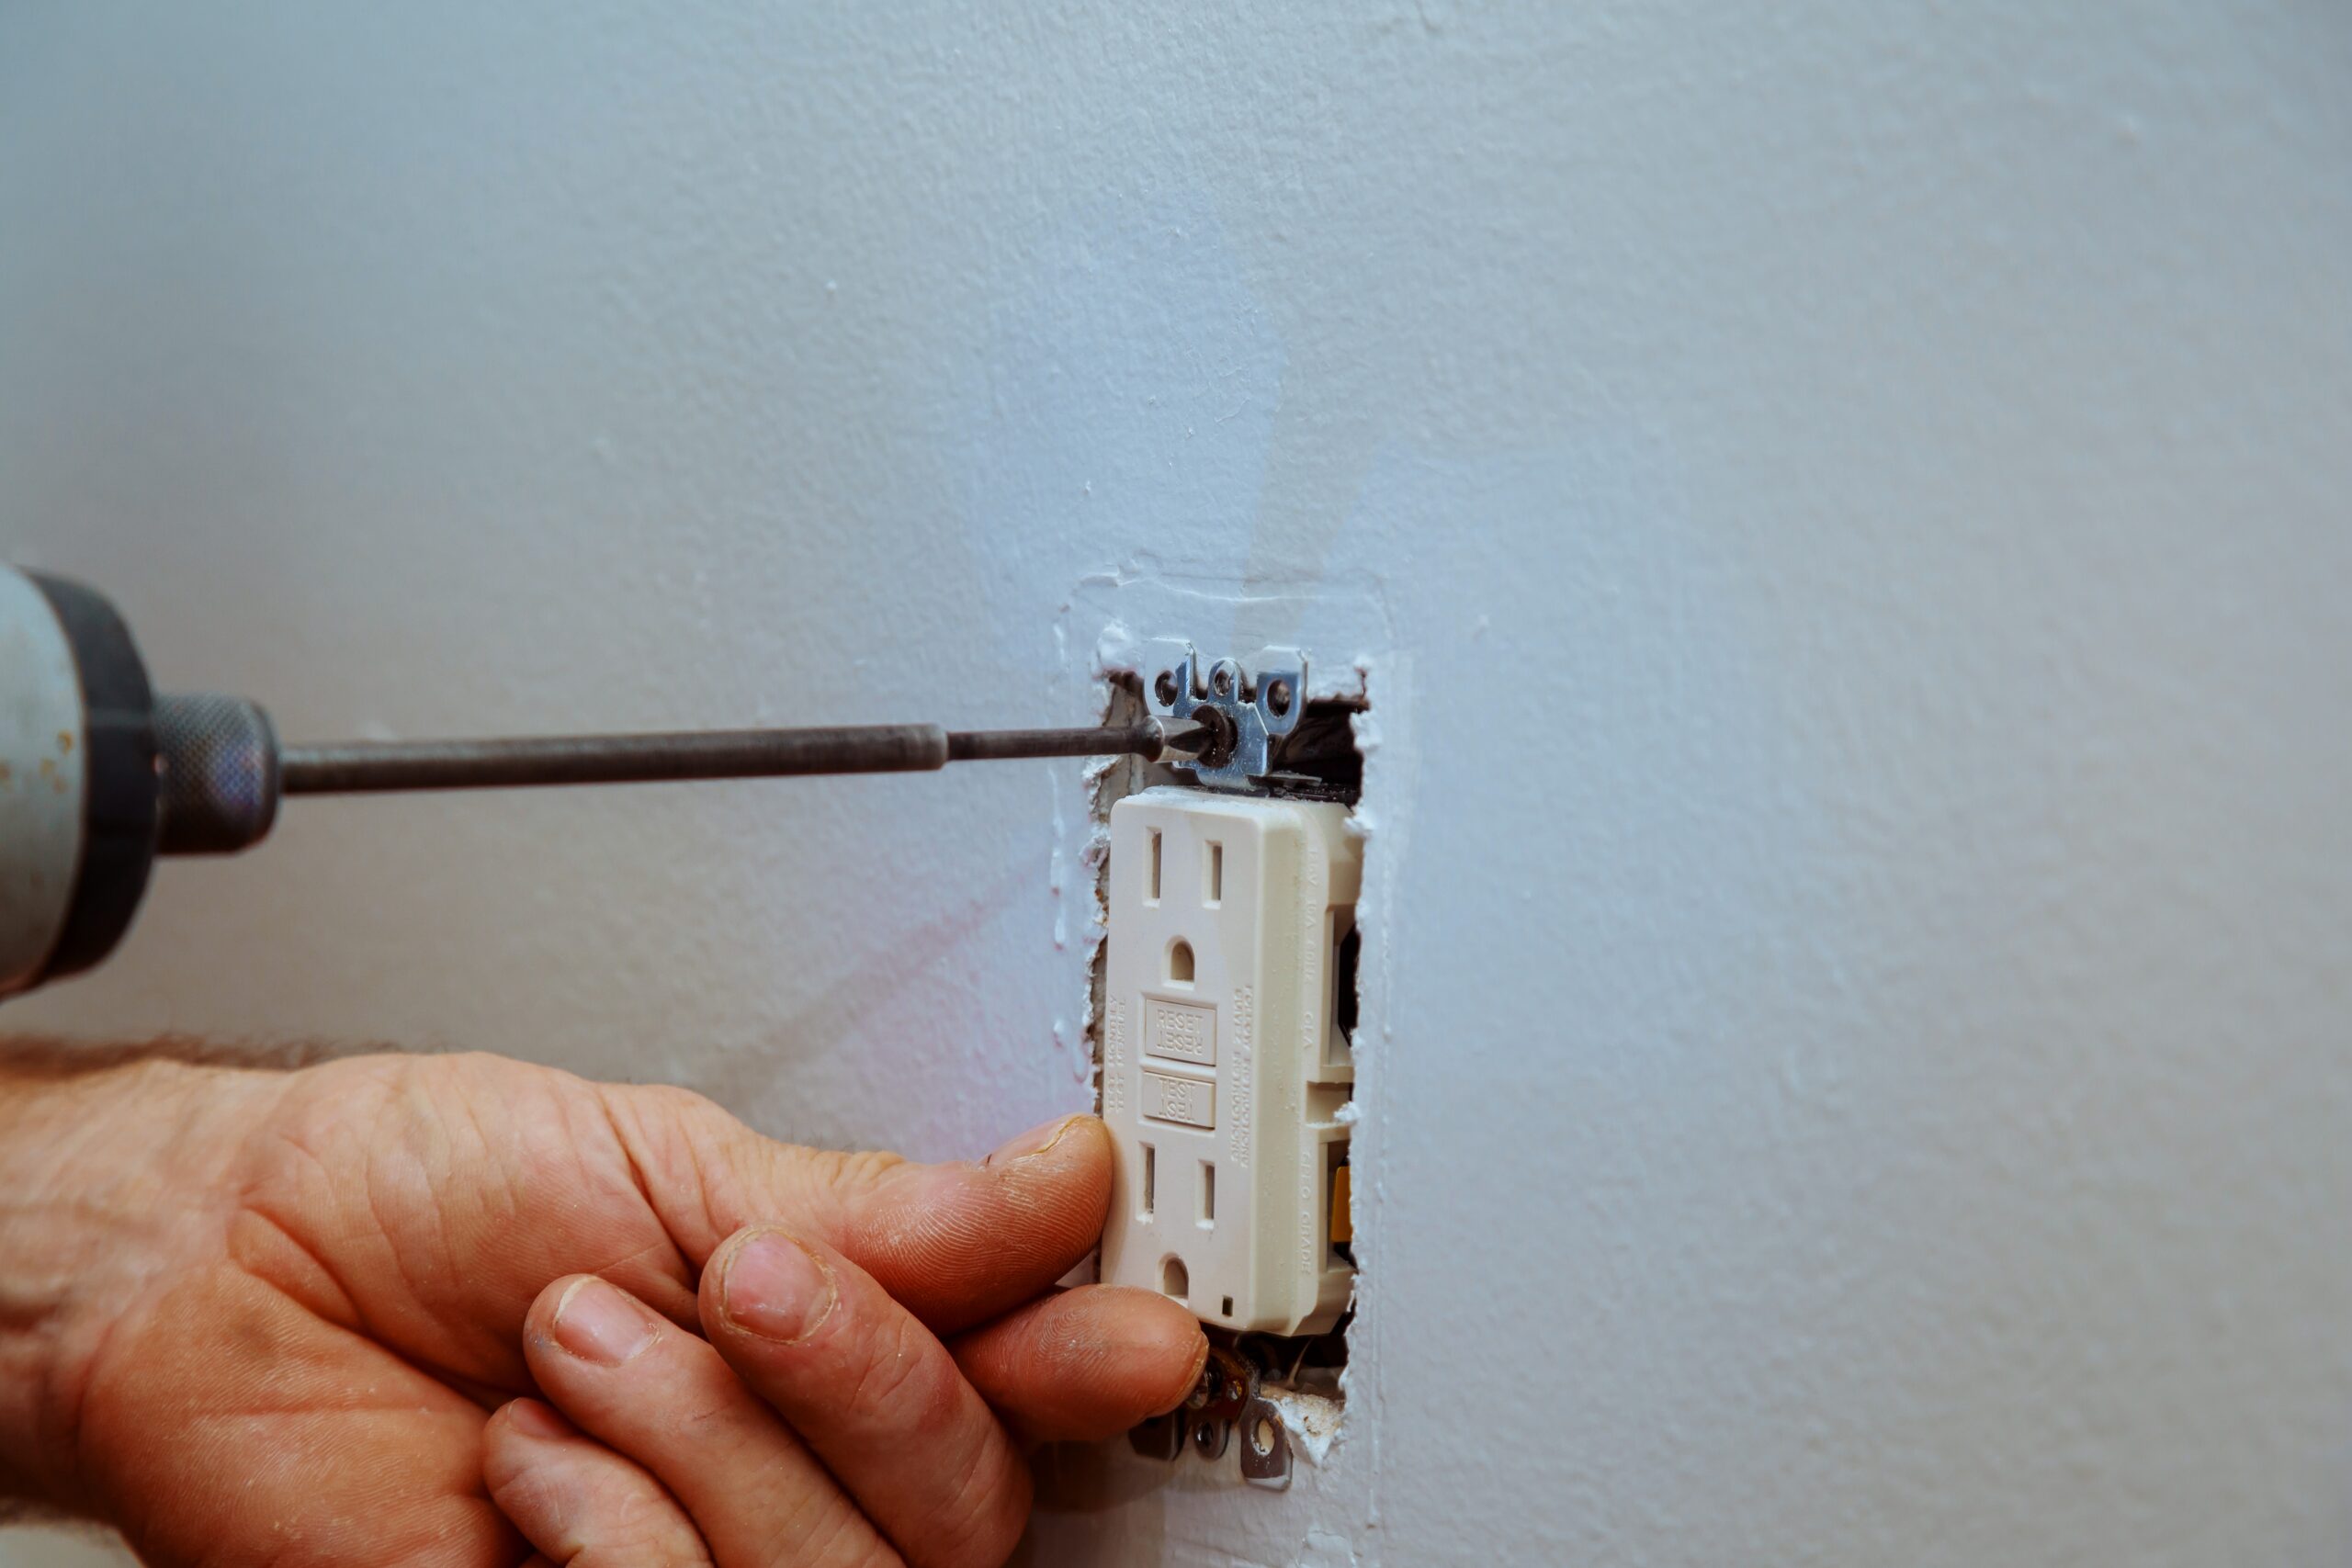
Ever faced the challenge of needing an extra outlet but not knowing how to install a new electrical outlet safely and efficiently? You’re not alone. Many homeowners find themselves in need of additional power sources as technology becomes an increasingly integral part of our lives. This step-by-step DIY guide will take you through everything you need to know about installing a new electrical outlet, from the tools required to the final testing phase. Whether you’re looking to power up a new home office setup or simply add convenience to your living space, this article will provide you with practical, easy-to-follow instructions that ensure you get the job done right. Keep reading to turn your electrical upgrade project into a success with confidence and safety.
Preparing for Installation
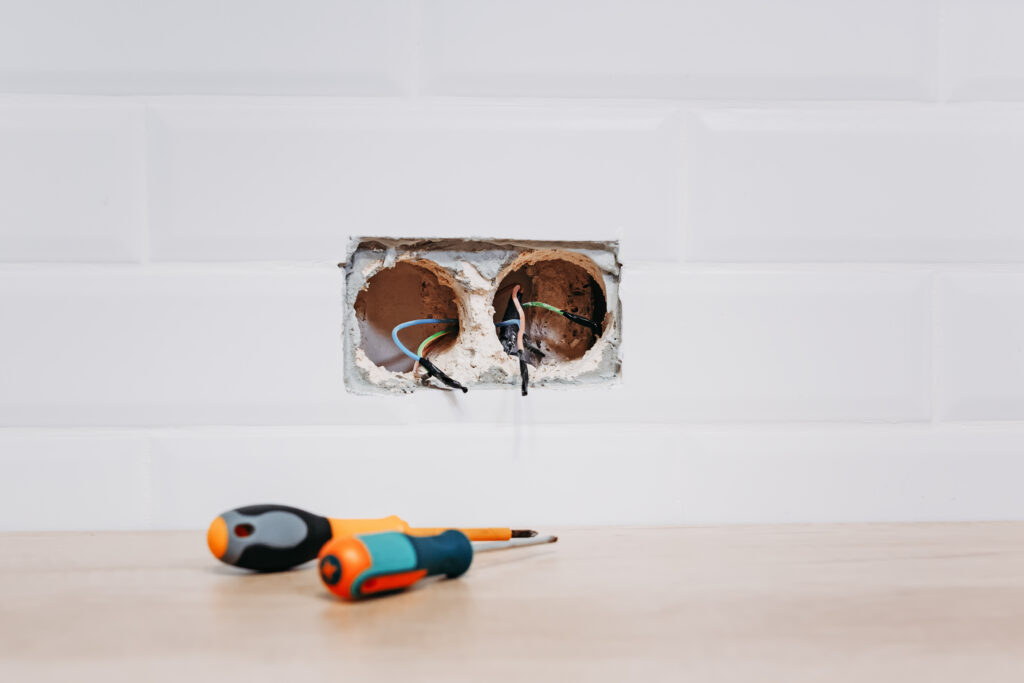
Proper preparation is crucial to ensuring a smooth and safe installation of your new electrical outlet. This initial phase sets the foundation for a successful DIY project and helps avoid common pitfalls that could lead to safety issues.
Gather Your Tools
Before you begin, assembling the right tools is essential. Here’s what you’ll need:
- Screwdriver: Choose a quality, insulated screwdriver that fits the screws on your outlet and faceplate securely.
- Wire Strippers: These are crucial for cleanly removing the insulation from wires without damaging the copper underneath.
- Voltage Tester: A non-contact voltage tester can help you ensure power is off before you start working, providing an extra layer of safety.
- New Outlet: Make sure the outlet you’ve chosen is suitable for your voltage needs and has the appropriate configuration for your installation area.
Each tool plays a vital role in the installation process, from ensuring secure connections to preventing electrical hazards.
Turn Off the Power
Safety must be your top priority when working with electrical systems. Here’s how to ensure a safe environment:
- Locate Your Circuit Breaker: Identify the breaker that controls the area where you’ll be working and switch it off.
- Verify Power is Off: Use your voltage tester at the installation site to confirm that there is no active power flowing to the outlet location.
Turning off the power prevents accidental shocks and is the first step in any electrical modification task. Always double-check that the power is indeed off by testing not only the specific outlet you are working on but also nearby outlets on the same circuit.
Understanding Your Electrical System
Before you add a new electrical outlet, gaining a solid understanding of your home’s electrical system is essential for ensuring safety and compliance with local codes.
Check for Grounding
Grounding is a fundamental safety feature in electrical systems that helps prevent electrical shocks and fires. Here’s how to ensure your system is properly grounded:
- Inspect Your Panel: Look for a grounding wire (typically bare copper or green) connected to your main electrical panel.
- Test for Grounding: Use a circuit tester or consult with a professional to test if your system is properly grounded. This step is crucial as it directly impacts safety.
Proper grounding diverts the electricity directly to the ground in case of a fault, significantly reducing the risk of shock or fire.
Understand Your Circuit
Knowing which circuit will host the new outlet is key to preventing overload and ensuring efficient distribution of electrical power.
- Circuit Analysis: Identify the circuit where the new outlet will be installed. Check the current load and ensure it has the capacity to handle additional demand.
- Load Calculation: Calculate the total load on the circuit to make sure it won’t exceed the safe operating limit, which could lead to overheating and potential hazards.
Understanding your home’s electrical circuits helps maintain balance and functionality, ensuring that new additions like outlets don’t compromise the system’s safety or efficiency. Always refer to the National Electrical Code (NEC) or local regulations to verify that your setup complies with safety standards.
Step-by-Step Guide to Installing Your Outlet
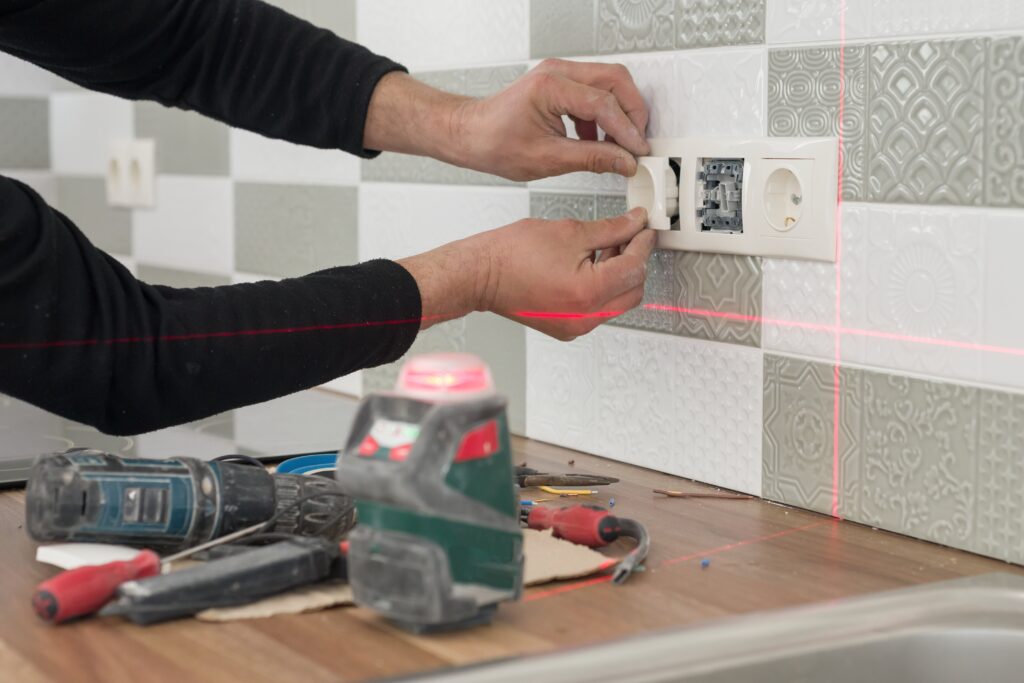
Installing a new electrical outlet can be a rewarding DIY project. Here’s a detailed, step-by-step guide to help you successfully install your outlet, whether you’re replacing an old one or adding a new fixture.
Removing the Old Outlet (if applicable):
If you’re replacing an existing outlet, begin by safely removing the old one.
- Remove the Faceplate:
- Unscrew the faceplate and set it aside carefully.
- Ensure all screws are kept in a safe place for reuse or disposal.
- Take Out the Old Outlet:
- Unscrew the outlet from the electrical box.
- Gently pull the outlet out of the box to expose the wires.
Handling old outlets with care is crucial to prevent any damage to the wiring.
Connecting the Wires:
Proper connections are essential for a safe and functional outlet.
- Connect the White (Neutral) Wire:
- Attach the white wire to the silver screw on the new outlet. Ensure a tight and secure connection.
- Connect the Black (Hot) Wire:
- Fasten the black wire to the brass screw. Double-check for a firm connection to avoid any potential loose connections.
- Attach the Ground Wire:
- Secure the green or bare copper wire to the green grounding screw on the outlet. This step is vital for safety and prevents electrical hazards.
Correctly attaching the wires ensures the outlet will operate safely and efficiently.
Securing the Outlet and Testing:
Once the wires are connected, the next steps involve securing the outlet and testing to ensure it functions properly.
- Secure the Outlet:
- Carefully push the outlet back into the electrical box, ensuring no wires are pinched or overly bent.
- Screw the outlet firmly into place and then reattach the faceplate.
- Test Your Work:
- Turn the power back on at the circuit breaker.
- Use a voltage tester to check the outlet. Confirm that it is functioning correctly with no signs of miswiring or loose connections.
Testing your installation helps verify that the new outlet is safe and ready for use.
Safety Tips When Installing Electrical Outlets
When installing an electrical outlet, it’s crucial to prioritize safety to protect both yourself and your home. Here are essential safety tips to follow during the installation process:
Double-Check Connections
Ensuring all connections are secure is fundamental to a safe electrical system.
- Tightness: After attaching wires to the outlet screws, tug gently to make sure they are snug and will not come loose.
- Correct Placement: Verify that each wire is connected to the correct screw—neutral to silver, hot to brass, and ground to green.
Loose connections are a primary cause of electrical malfunctions and can lead to overheating or fires.
Use Insulated Tools
Using the right tools can prevent accidents and ensure a smoother installation process.
- Safety Rated: Choose tools that are rated for electrical work, which typically means they have insulated handles to protect against electric shock.
- Proper Fit: Use screwdrivers that fit the screws perfectly to avoid slippage that can damage the outlet or cause injury.
Insulated tools are critical for maintaining a safe environment when working around live circuits or potentially live wires.
Follow Manufacturer Instructions
Each outlet and installation kit comes with a set of guidelines tailored to ensure optimal functionality and safety.
- Read Before Installation: Familiarize yourself with the instruction manual before starting the work. This can alert you to any specific precautions or steps unique to your outlet model.
- Compliance with Standards: Adhering to the manufacturer’s instructions ensures that your installation is compliant with safety standards and product warranties.
Following these guidelines not only simplifies the installation process but also ensures that the installation adheres to safety standards, reducing the risk of errors and hazards. Always take the time to review these steps and prepare accordingly to guarantee a safe and successful installation.
Troubleshooting Common Issues
Even with careful installation, issues can arise. Here are some tips to troubleshoot common problems:
Outlet Not Working
When an outlet doesn’t function after installation, a few checks can help diagnose the issue.
- Secure Connections: Ensure that all wires are tightly connected to their respective screws. Loose connections can prevent the outlet from functioning.
- Circuit Breaker: Verify that the circuit breaker is in the ‘on’ position. Sometimes, breakers may trip during installation without immediate notice.
Ensuring that connections are secure and the power is activated are preliminary steps in troubleshooting a non-functioning outlet.
Frequent Tripping
If the new outlet often causes the circuit breaker to trip, it might be indicative of an overload or other wiring issues.
- Appliance Load: Assess which appliances are connected to the outlet. High-energy devices can often overload an outlet if too many are used simultaneously.
- Professional Consultation: If redistributing appliances does not solve the issue, it may be time to consult a professional. Overloading could also suggest deeper issues such as inadequate wiring or a faulty breaker.
Understanding and resolving these issues not only enhances the functionality of your outlet but also ensures the safety and efficiency of your home’s electrical system. Remember, when in doubt, consulting with a licensed electrician can provide peace of mind and professional solutions.
Key Takeaways
Installing a new electrical outlet is a valuable skill that enhances the functionality and adaptability of your home. By following the guidelines detailed in this guide on how to install a new electrical outlet, you can ensure a safe and successful installation. From preparing the necessary tools and understanding your electrical system to securely connecting wires and troubleshooting, each step is crucial for optimal performance and safety. As you embark on this DIY project, remember that meticulous attention to detail and adherence to safety protocols are key.
Looking ahead, continuously educating yourself on electrical improvements and maintenance can significantly impact your home’s efficiency and safety. We invite you to share your experiences or any questions you might have about installing electrical outlets or other home projects. Your feedback helps us improve and enrich our content, providing real-world insights into common DIY challenges. Join the discussion below to connect with fellow DIY enthusiasts and share tips and stories from your own home improvement adventures.
People Also Ask
- What is the difference between a grounded and ungrounded outlet?
A grounded outlet is equipped with a third hole for a grounding wire, which provides an additional path for electrical current to return safely to the ground in case of a fault. Ungrounded outlets, lacking this feature, pose a greater risk of shock and fire. The National Electrical Code recommends using grounded outlets to enhance safety in modern homes.
- Can I install a new outlet without any previous electrical experience?
Yes, you can install a new outlet with minimal electrical experience by following detailed, step-by-step guides and adhering strictly to safety protocols. However, it is crucial to understand your limitations and consult a professional electrician if the project involves complex wiring or modifications to your home’s electrical panel.
- What are the signs that an outlet hasn’t been installed correctly?
Signs of incorrect installation include frequent tripping of circuit breakers, the outlet not functioning, or noticeable sparks or unusual noises when devices are plugged in. These symptoms can indicate potentially hazardous wiring errors and should be addressed immediately by a qualified electrician.
- Is it necessary to call an electrician to check my work?
While not always mandatory, having a licensed electrician review your installation can ensure that it meets all local electrical codes and safety standards. This is especially advisable if you’re new to electrical DIY projects or if the installation involves complex wiring or multiple outlets.
- What tools are essential for DIY outlet installation?
Essential tools for installing an outlet include a voltage tester, wire strippers, screwdrivers, and a flashlight. A multimeter can also be helpful for testing connections. These tools ensure that the installation is performed safely and effectively, adhering to professional standards.
Empower Your DIY Projects with Professional Support from Boca Electrical Works!
Ready to upgrade your home’s electrical system or tackle that outlet installation project? Boca Electrical Works, Inc. is here to support your DIY efforts or take the reins if you need professional assistance. Our experienced team in Boca Raton has been providing trusted residential and commercial electrical works for over 38 years. Whether you need a comprehensive home safety inspection or specific installations like surge protectors and chandelier setups, we’re just a call away. Contact us at +1 561-235-2513 or visit the Softlist website for more insights and personalized recommendations tailored to your electrical needs.


